How To Clean Your Makeup Brushes 101
After my epic makeup brush edit two weeks ago, I was inundated with messages on how to clean your brushes. I mean, regularly cleaning your brushes is vital. Just think of all the makeup build-up that gathers on your brushes. Not cleaning them basically equals adding spot cream to your skincare routine!
There are A LOT of good reasons why it's super important to clean your makeup brushes:
Hygiene: Makeup brushes can collect dirt, oil, and bacteria, which can cause acne and other skin irritation. Cleaning them regularly helps to remove these impurities and keep your skin healthy and trouble-free.
Improved makeup application: Dirty brushes can lead to a cakey, uneven makeup application. Clean brushes will apply makeup a lot more smoothly and evenly.
Extends the life of your brushes: Proper cleaning and maintenance can help to extend the life of your brushes, as dirt and other buildup can damage the bristles and cause them to fall out.
Prevents cross-contamination: Using the same brush for different products can lead to cross-contamination of the products and potentially can ruin it. Cleaning the brush after use of each product will prevent this from happening.
Saving dosh: Cleaning and maintaining your brushes properly can save you money in the long run, as you won't have to replace them as frequently.
There are several types of products that can be used to clean makeup brushes. I’ve tried and tested MANY. They range from DIY techniques to brush cleaners and soaps:
Mild shampoo or baby shampoo: This is a gentle, effective way to clean makeup brushes. Simply wet the bristles of the brush and work in a small amount of shampoo. Rinse the brush thoroughly and lay it flat to dry. Make sure you test it on yourself first to ensure it doesn't irritate. You can pop a bit behind the ear for a few hours, if it doesn't react then you're good to go.
DIY solutions: you can use a mixture of coconut oil and castile soap. It's important to note that it's best to avoid using anything that is too harsh or abrasive on your brushes, as this can cause damage to the bristles or weakening of the glue that holds them in place. Even more importantly, remember you will be using these brushes on your precious face – so please don’t use Fairy Liquid!
Brush cleaners, soaps and mats: There are several brush cleaners specifically formulated for cleaning makeup brushes. These products work by breaking down and removing makeup and impurities from the bristles. They are generally easy to use and rinse off, leaving your brush clean and fresh.
The Solid Pro Soap by Beauty Blender is my absolute favourite brush cleaner. It's meant for the sponges but works brilliantly for brushes too. You wet the brush, rub it over the soap, and then use the sigma mat as directed. My back-up is the Kiehls Botanical Cleansing Oil; it is meant for your face but works very well on brushes. It's gentle, so is great for sensitive skin.
My favourite quick dry spray cleaners are Cinema Secrets Brush Cleaner and the Makeup Forever Instant Brush Cleaner. Both are great if you're in a rush, or if you only have a few brushes and want to clean them during your makeup application.
The Sigma Brush Cleaning Mat is one of my best purchases ever. I’ve had it for years and it's still like new. I also have the Glove Version for when I travel. You stick the mat to the bottom of the sink with the attached suckers and use the textured areas to deep clean. It's written on the mat but you use the larger bumps for larger brushes, such as ones for foundation, blushers and bronzers. And the small bumps for smaller ones such as eyeshadow, concealer and lip brushes.
My step-by-step guide to cleaning your brushes is super simple. Honestly, it has become such a part of my routine, especially in between shoots. I have a few friends who get a lecture from me on a weekly basis. Kyra, clean your brushes please! Maybe she’ll read this blog post and actually follow the steps below:
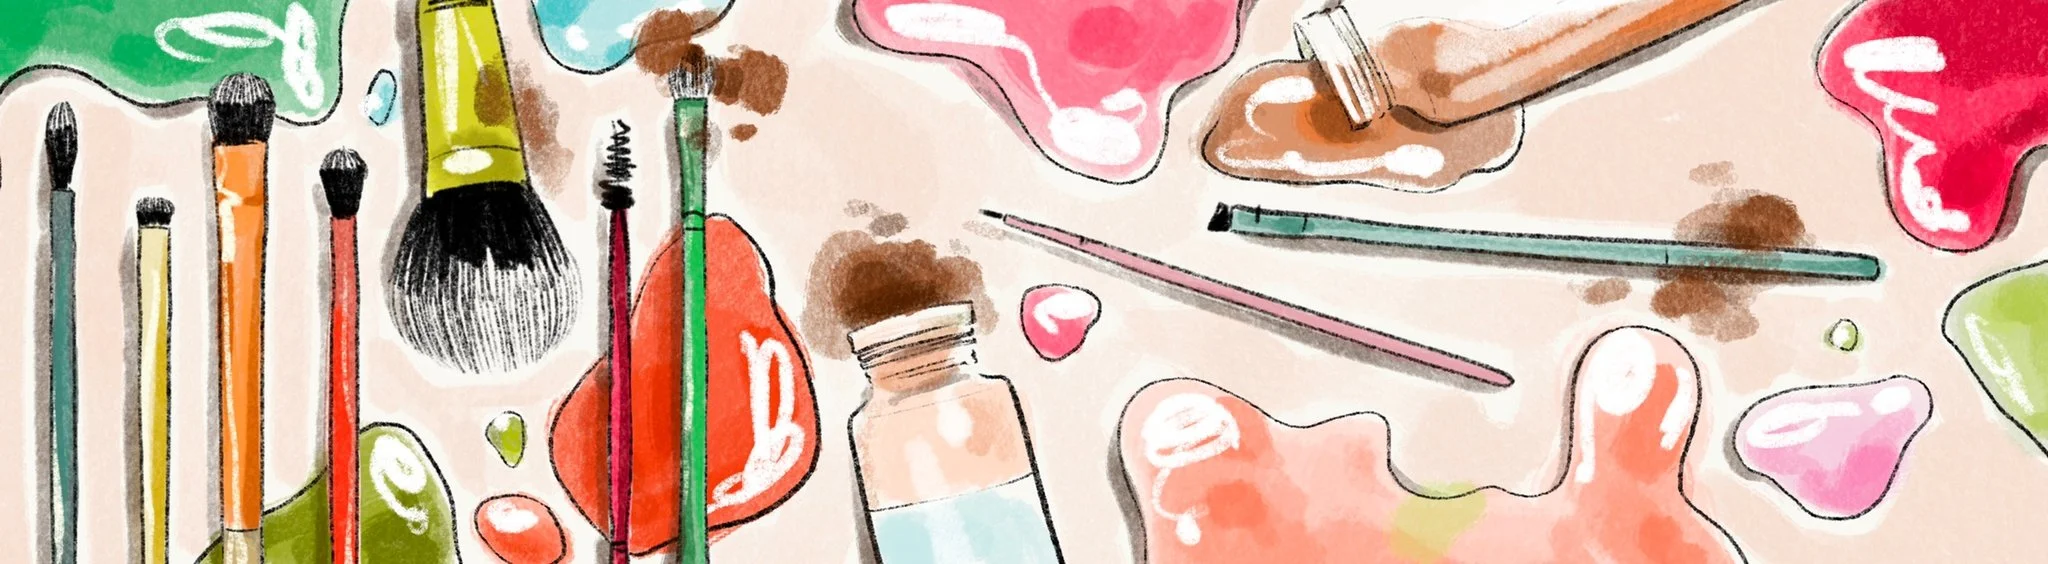
1. Run the bristles of the brush under warm running water. Be careful not to submerge the base of the bristles in water, as this can cause the glue holding the bristles in place to weaken.
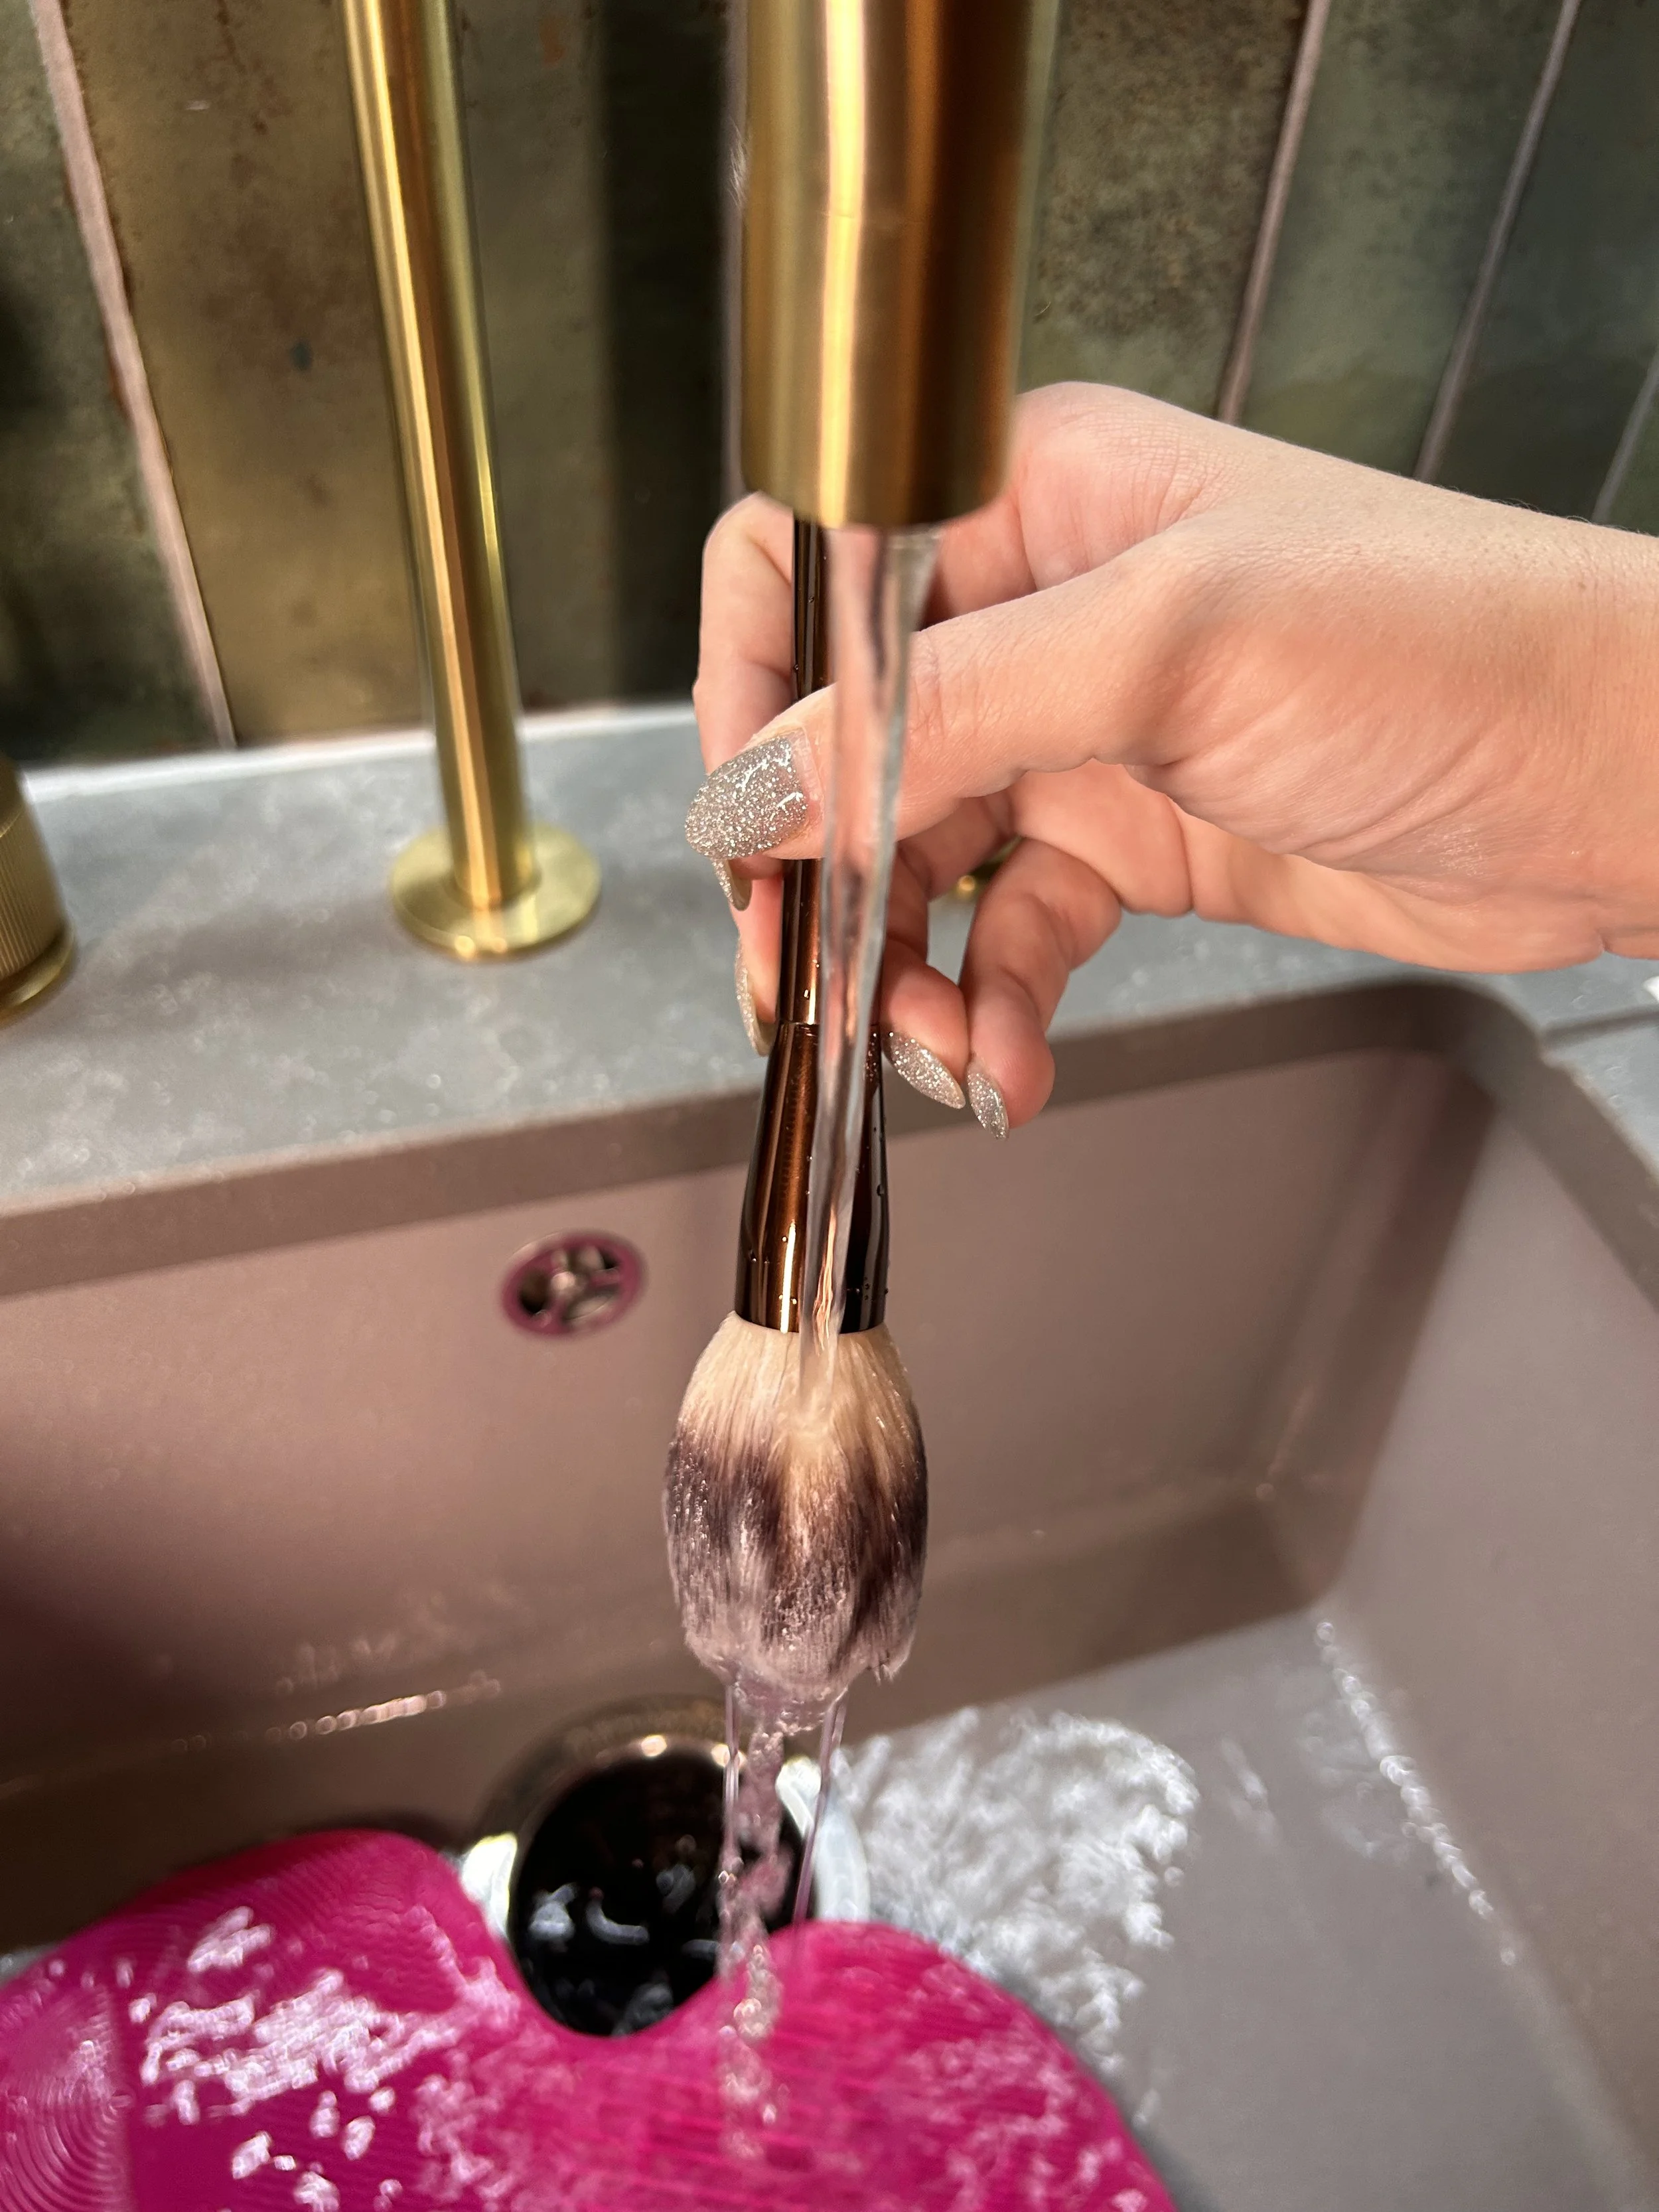
2. Apply a small amount of mild shampoo or brush cleaner to the bristles and work it into a lather.
3. Gently massage the bristles, being sure to clean the base of the brush where the bristles are attached.

4. Rinse the bristles thoroughly under warm running water until all the suds are gone and the water runs clear.

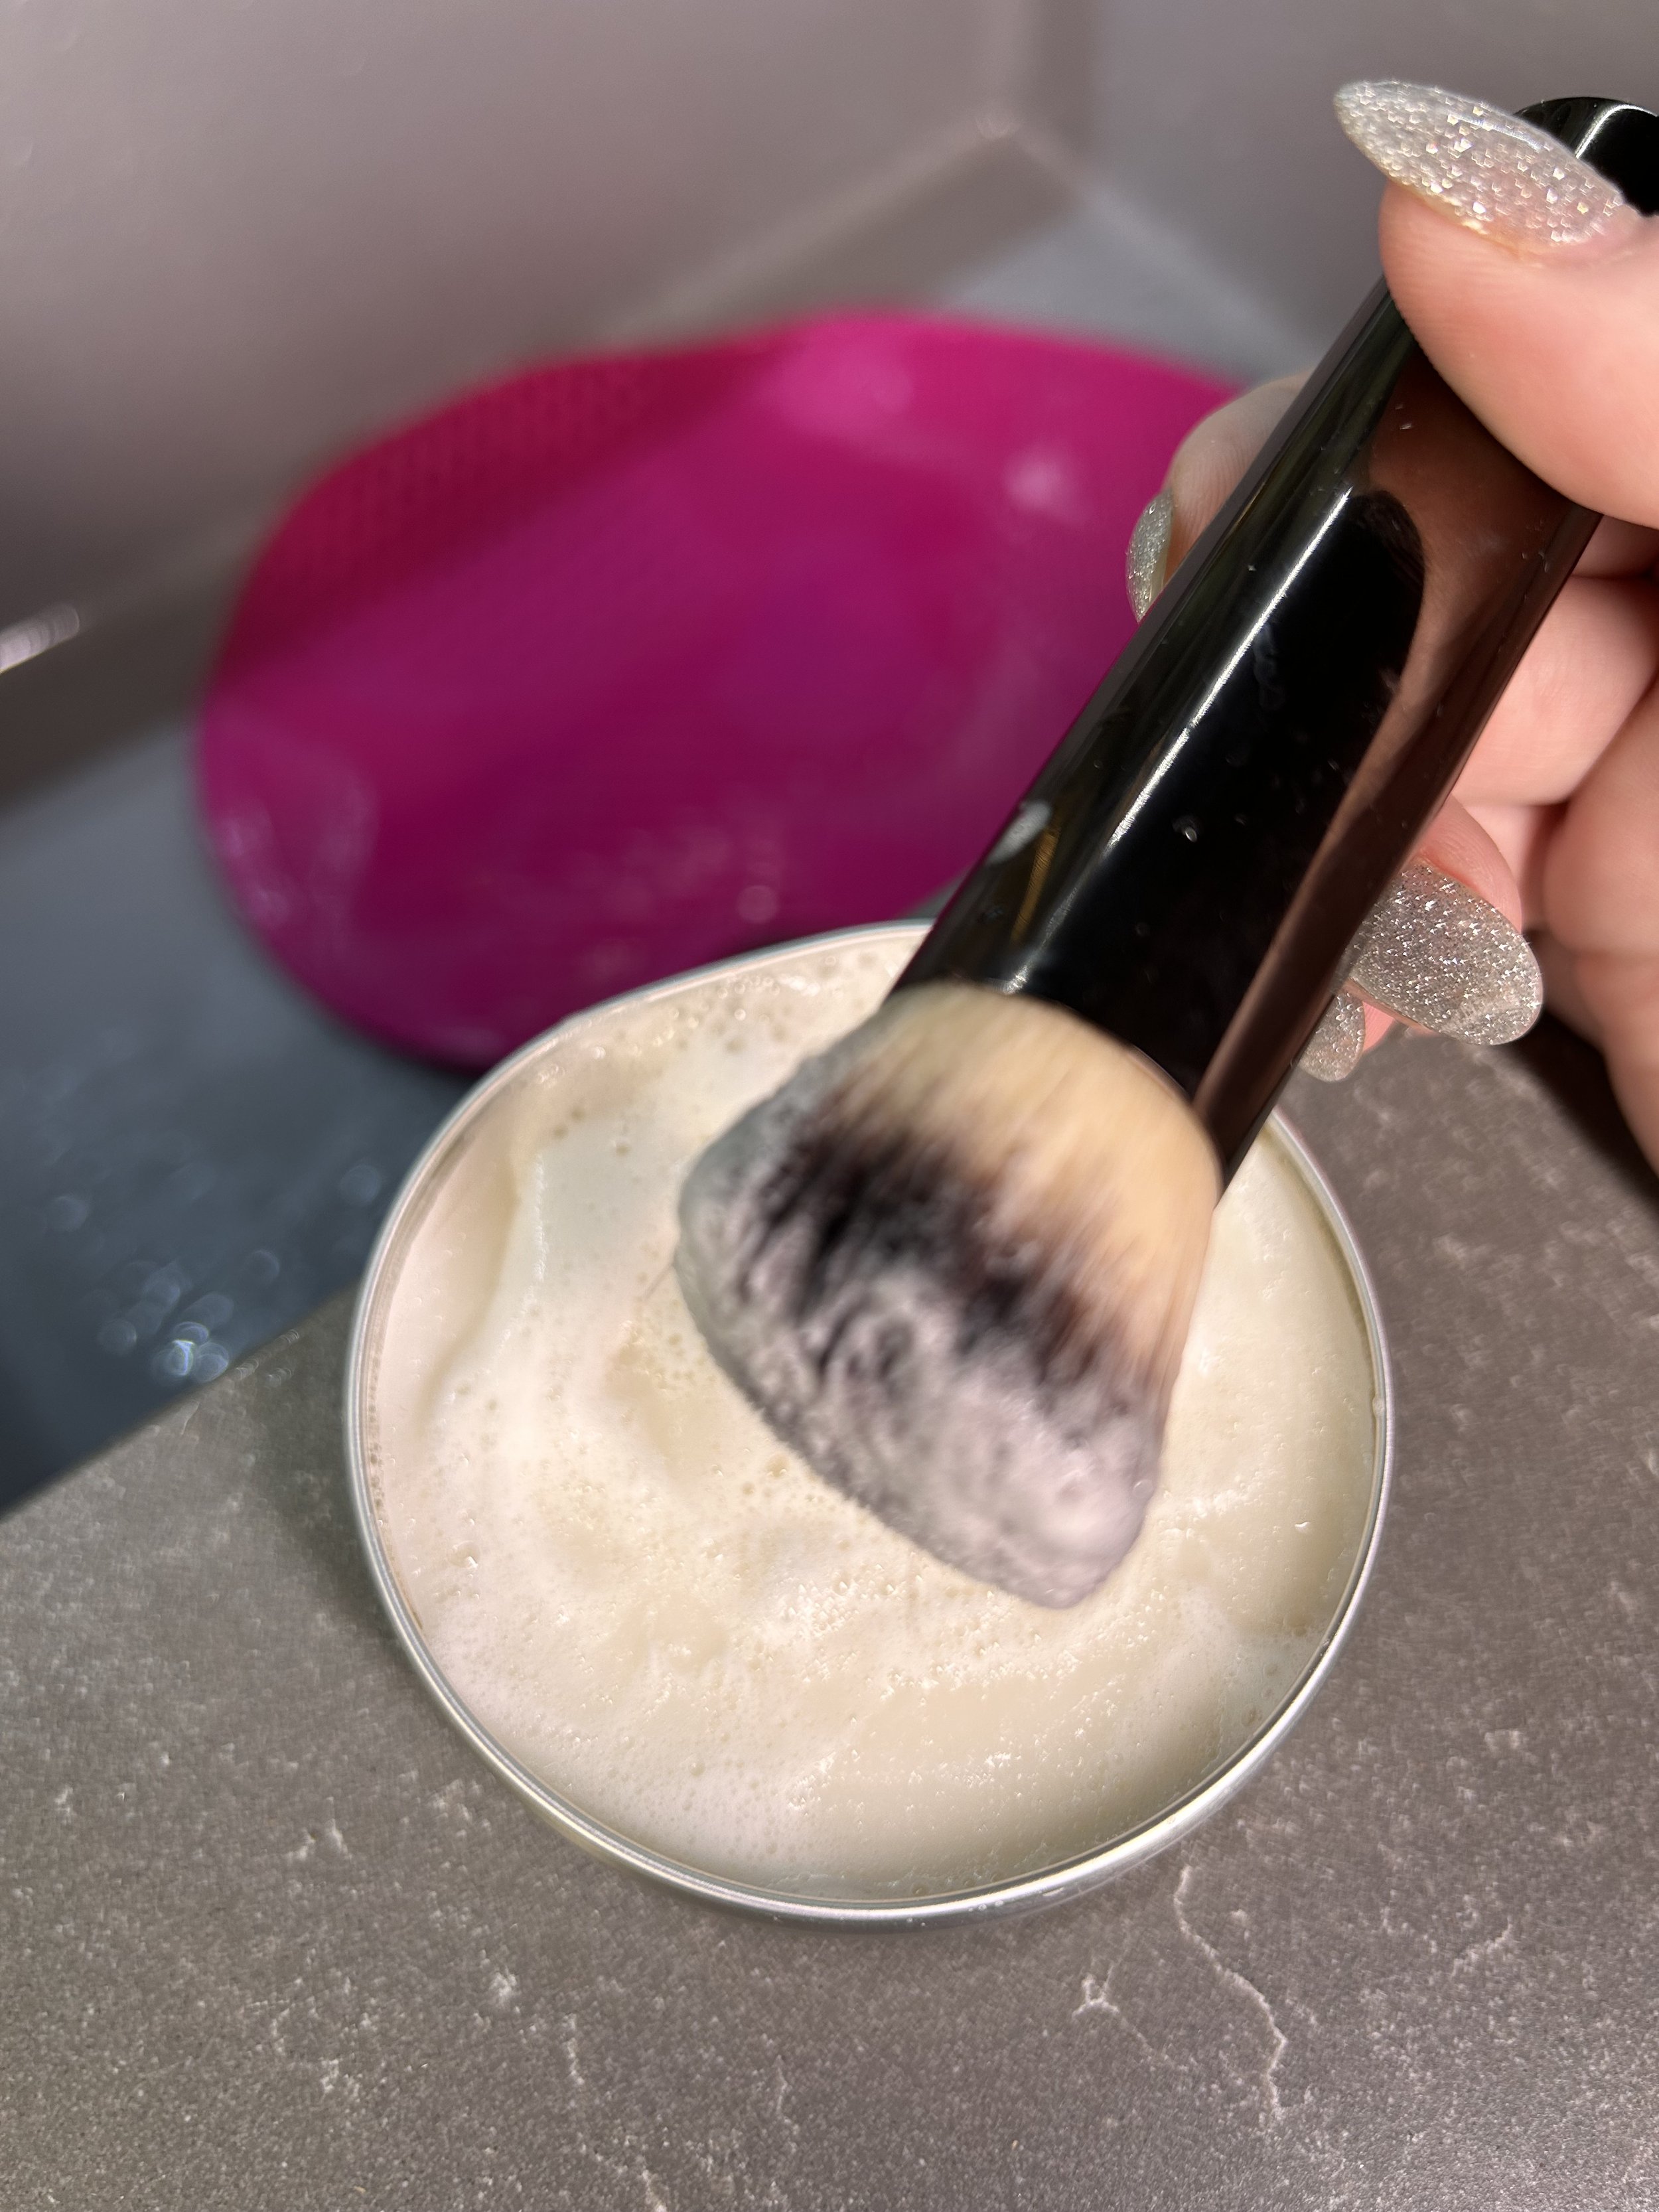
5. Use a towel or a cloth to gently squeeze out the excess water from the bristles.
6. Lay the brush flat or on its side to dry, avoiding direct sunlight, and making sure that the bristles are not touching anything.

I recommend cleaning your brushes every 1-2 weeks or whenever you notice they are getting dirty or when you notice any changes in the application of the makeup.
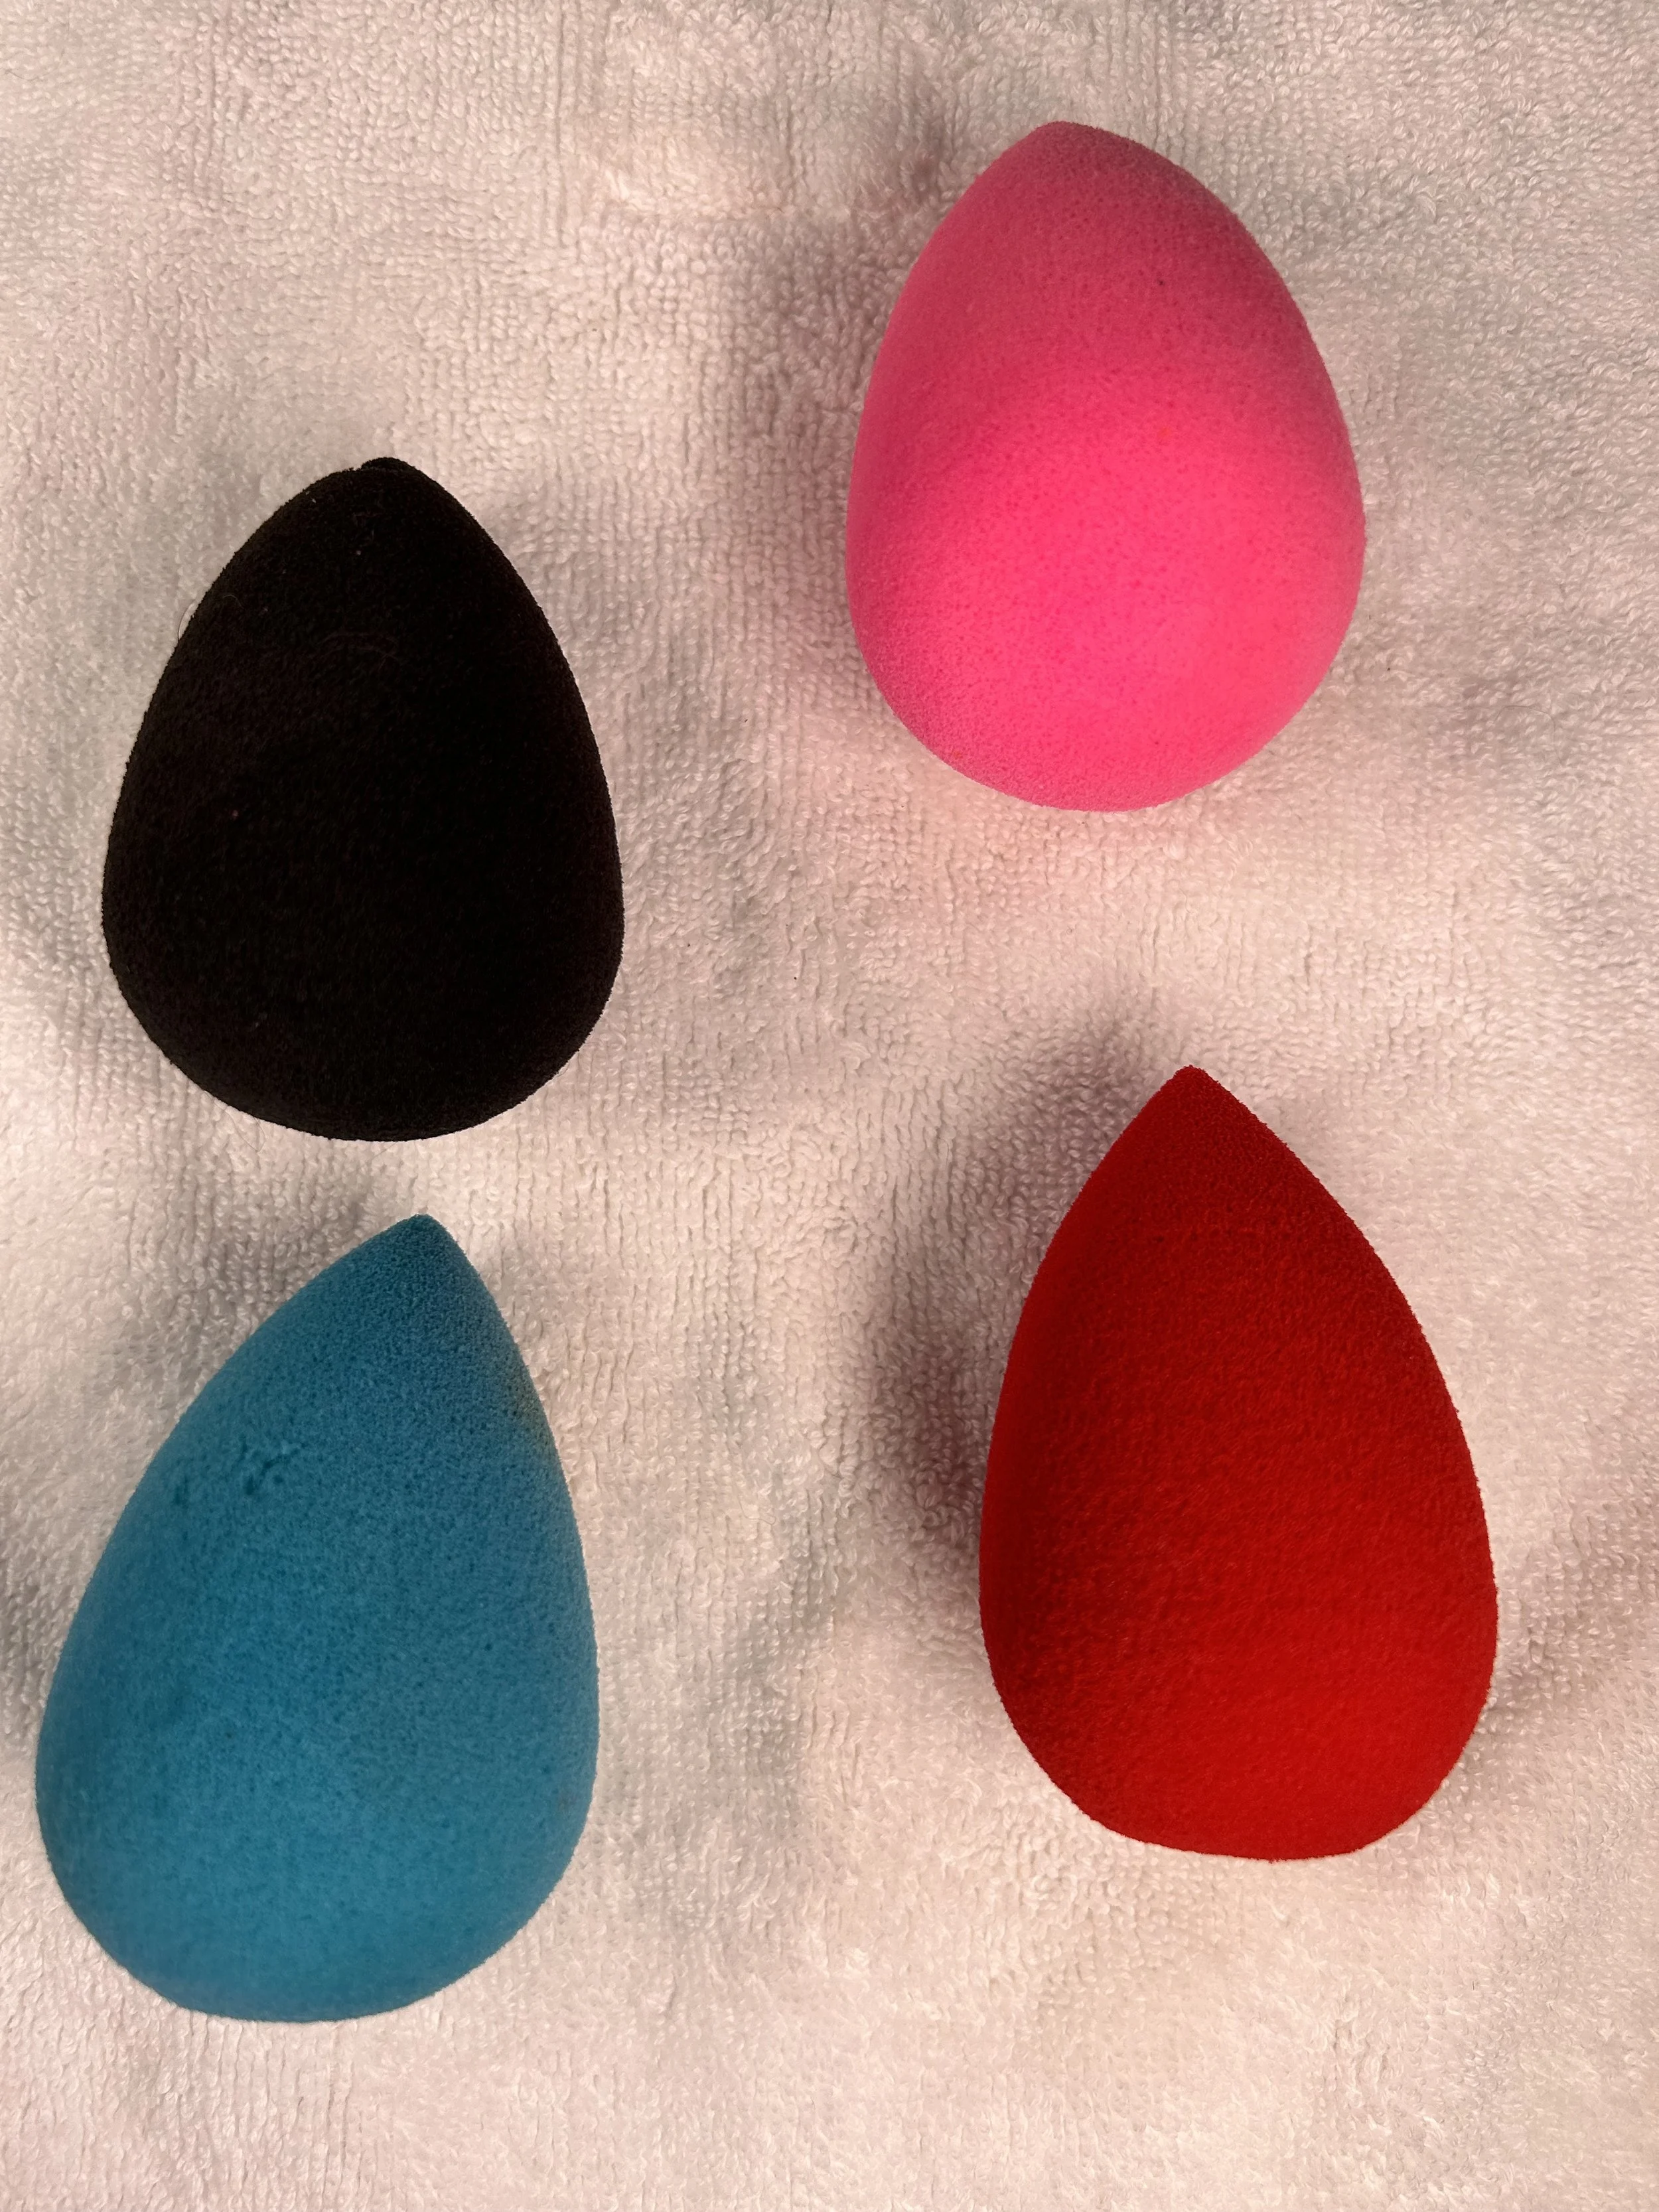
Beauty Blenders
These are a whole different ballgame. It's best to clean your beauty blender after every use, as leaving it dirty can lead to the buildup of bacteria which can cause spots or other skin irritation.
Here are a few simple steps:
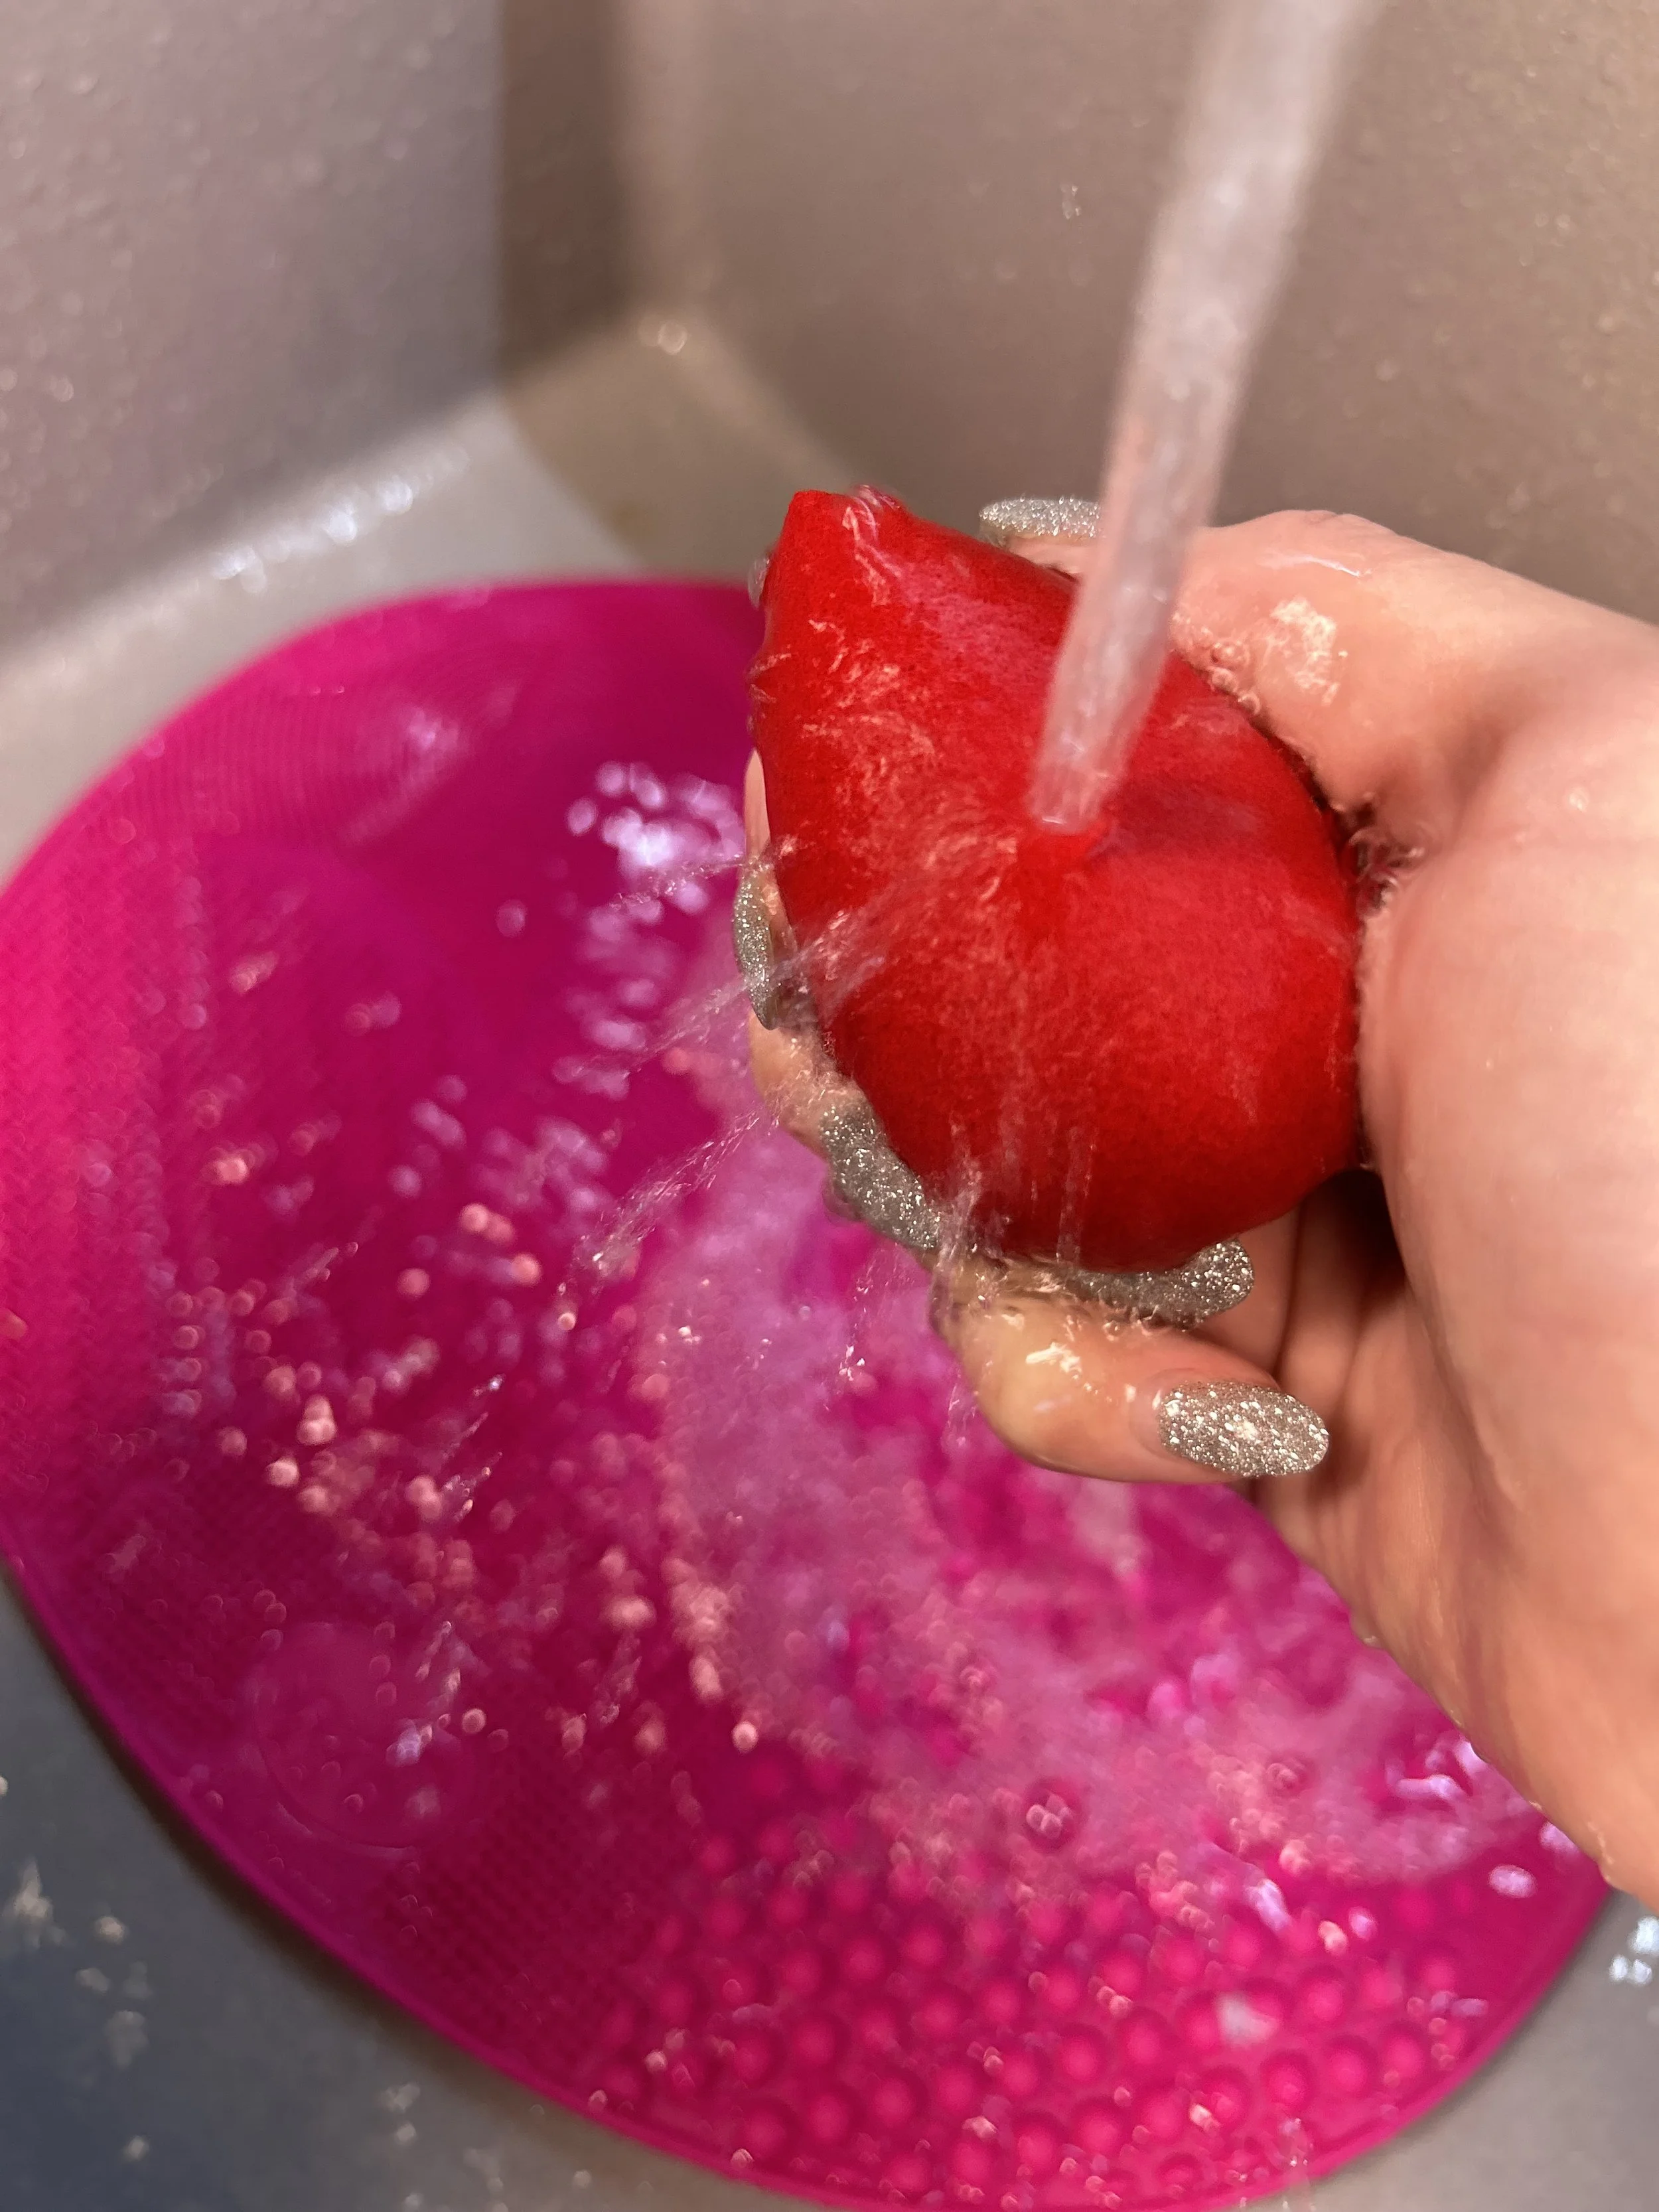
1. Wet the sponge thoroughly with warm water.
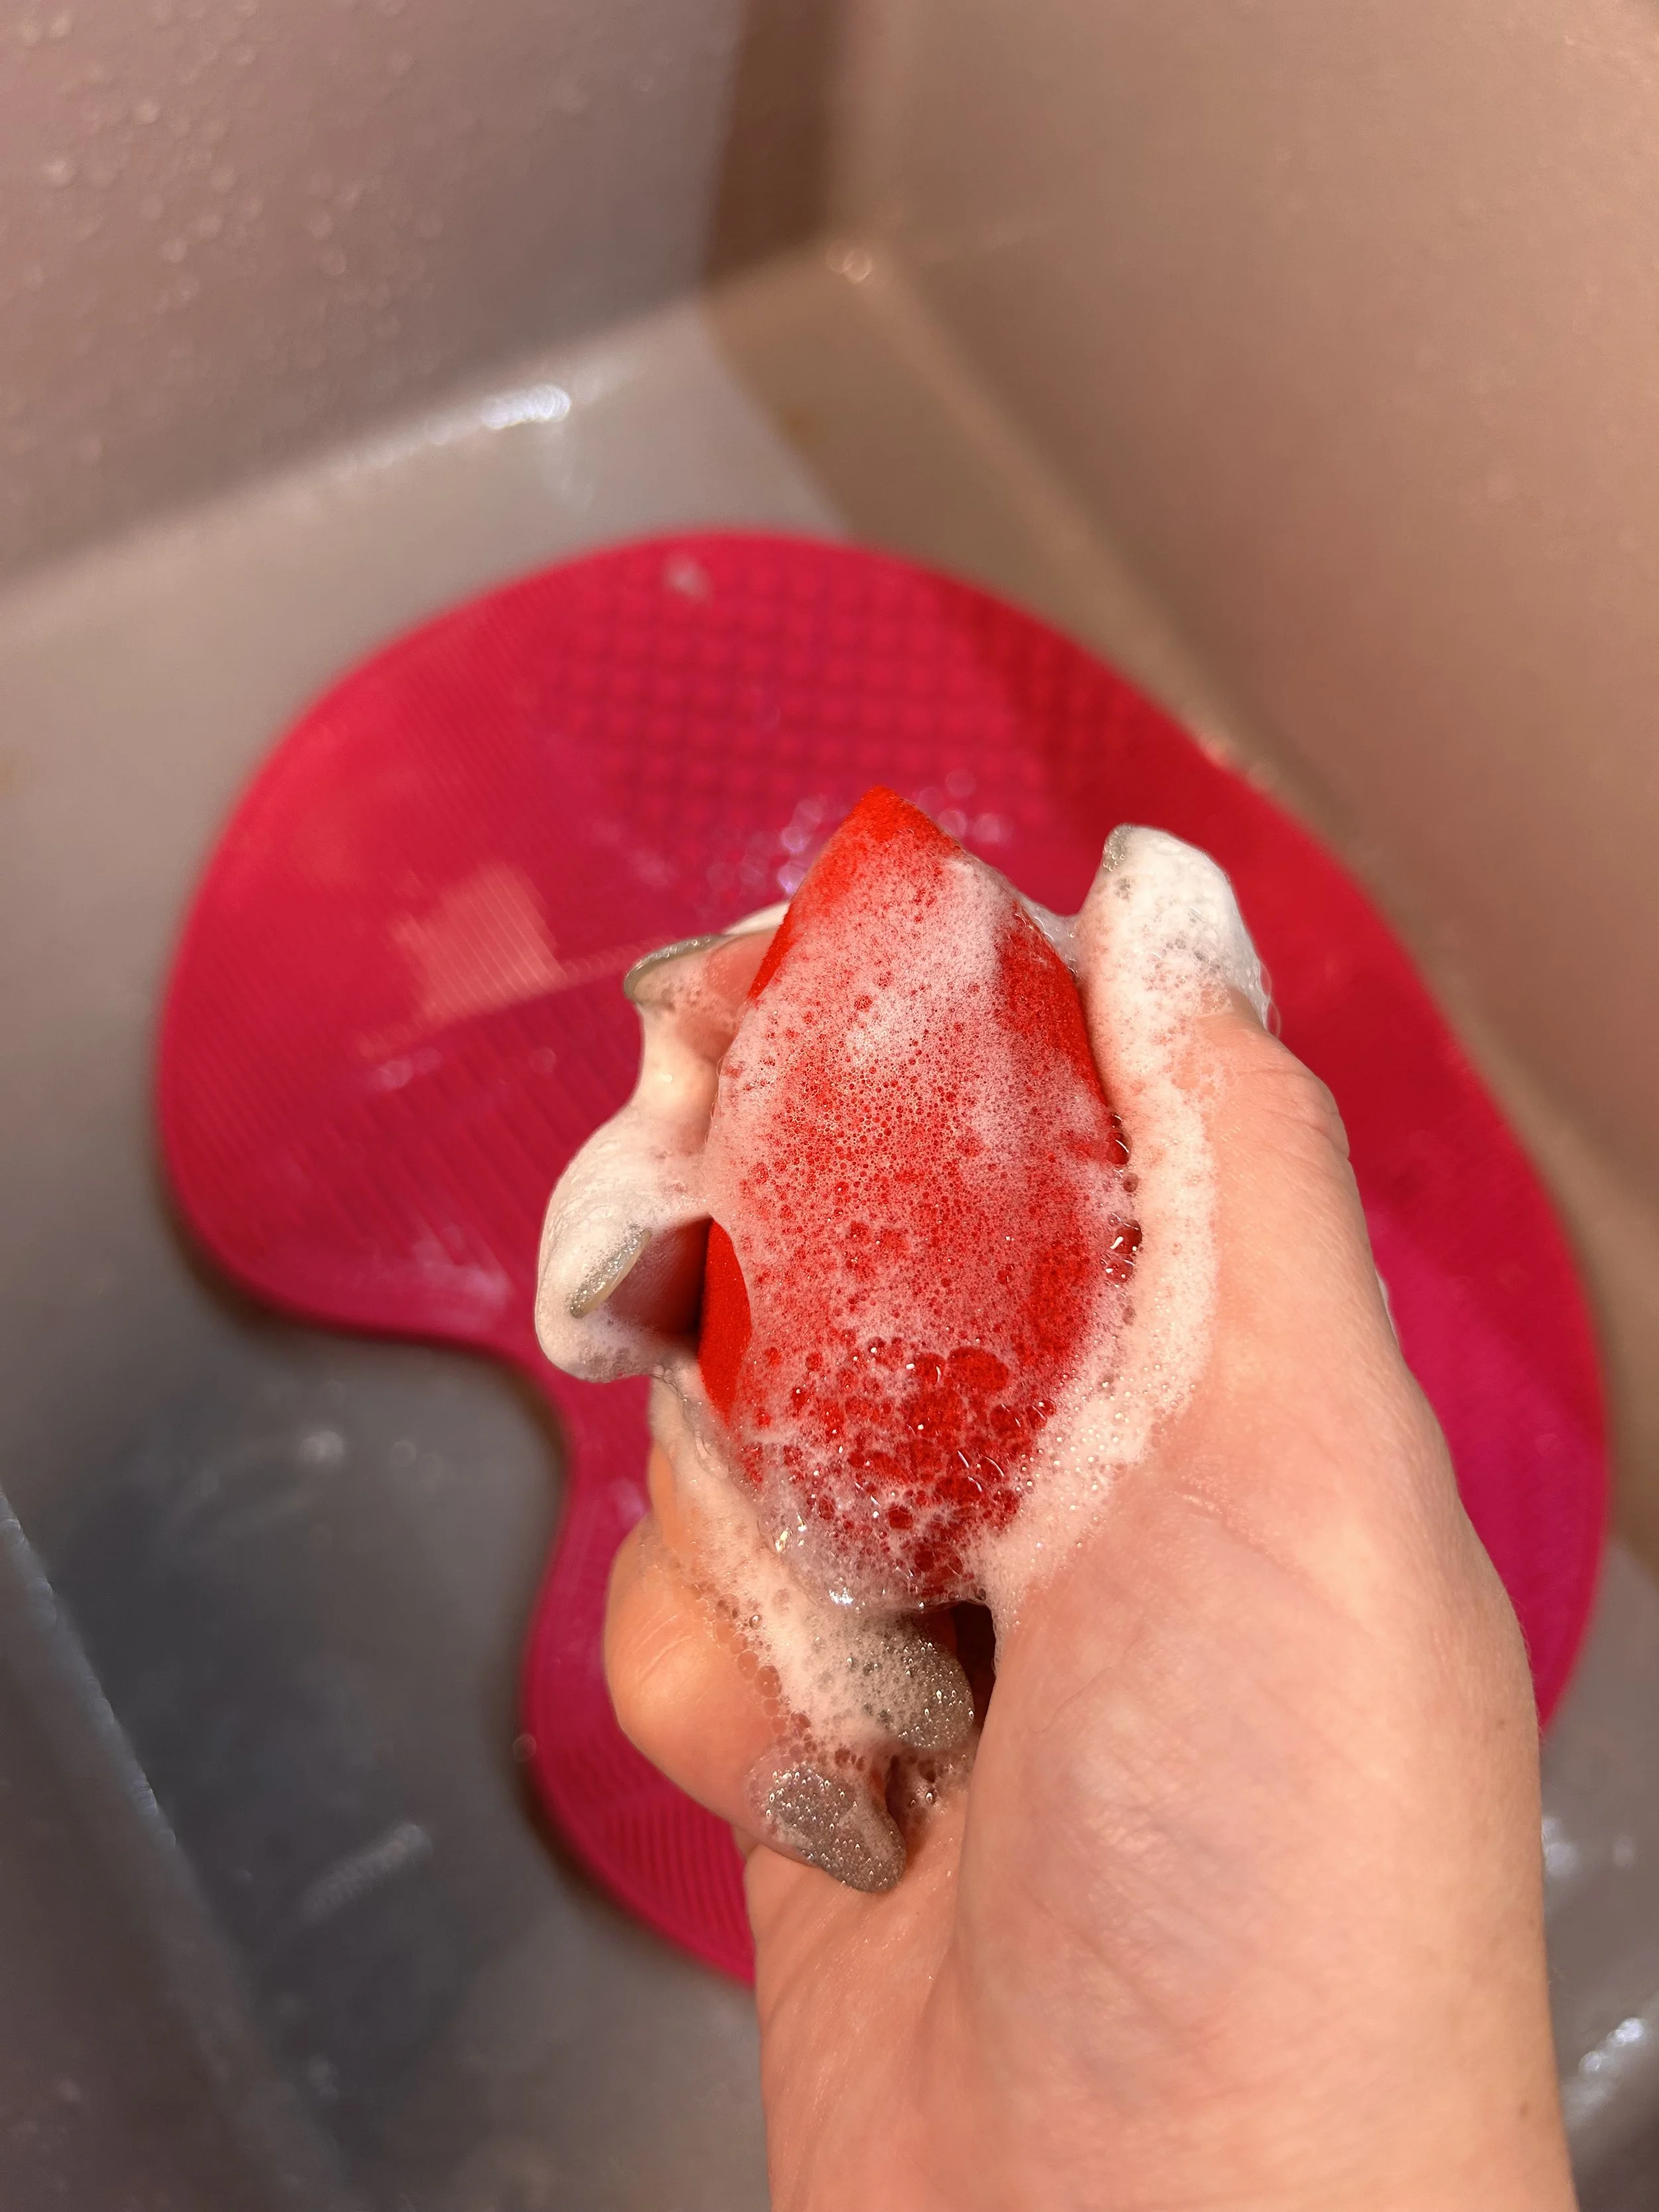
2. Apply a small amount of mild soap or a specialized beauty blender cleanser to the sponge. Gently massage the soap into the sponge, working to remove any makeup or impurities.
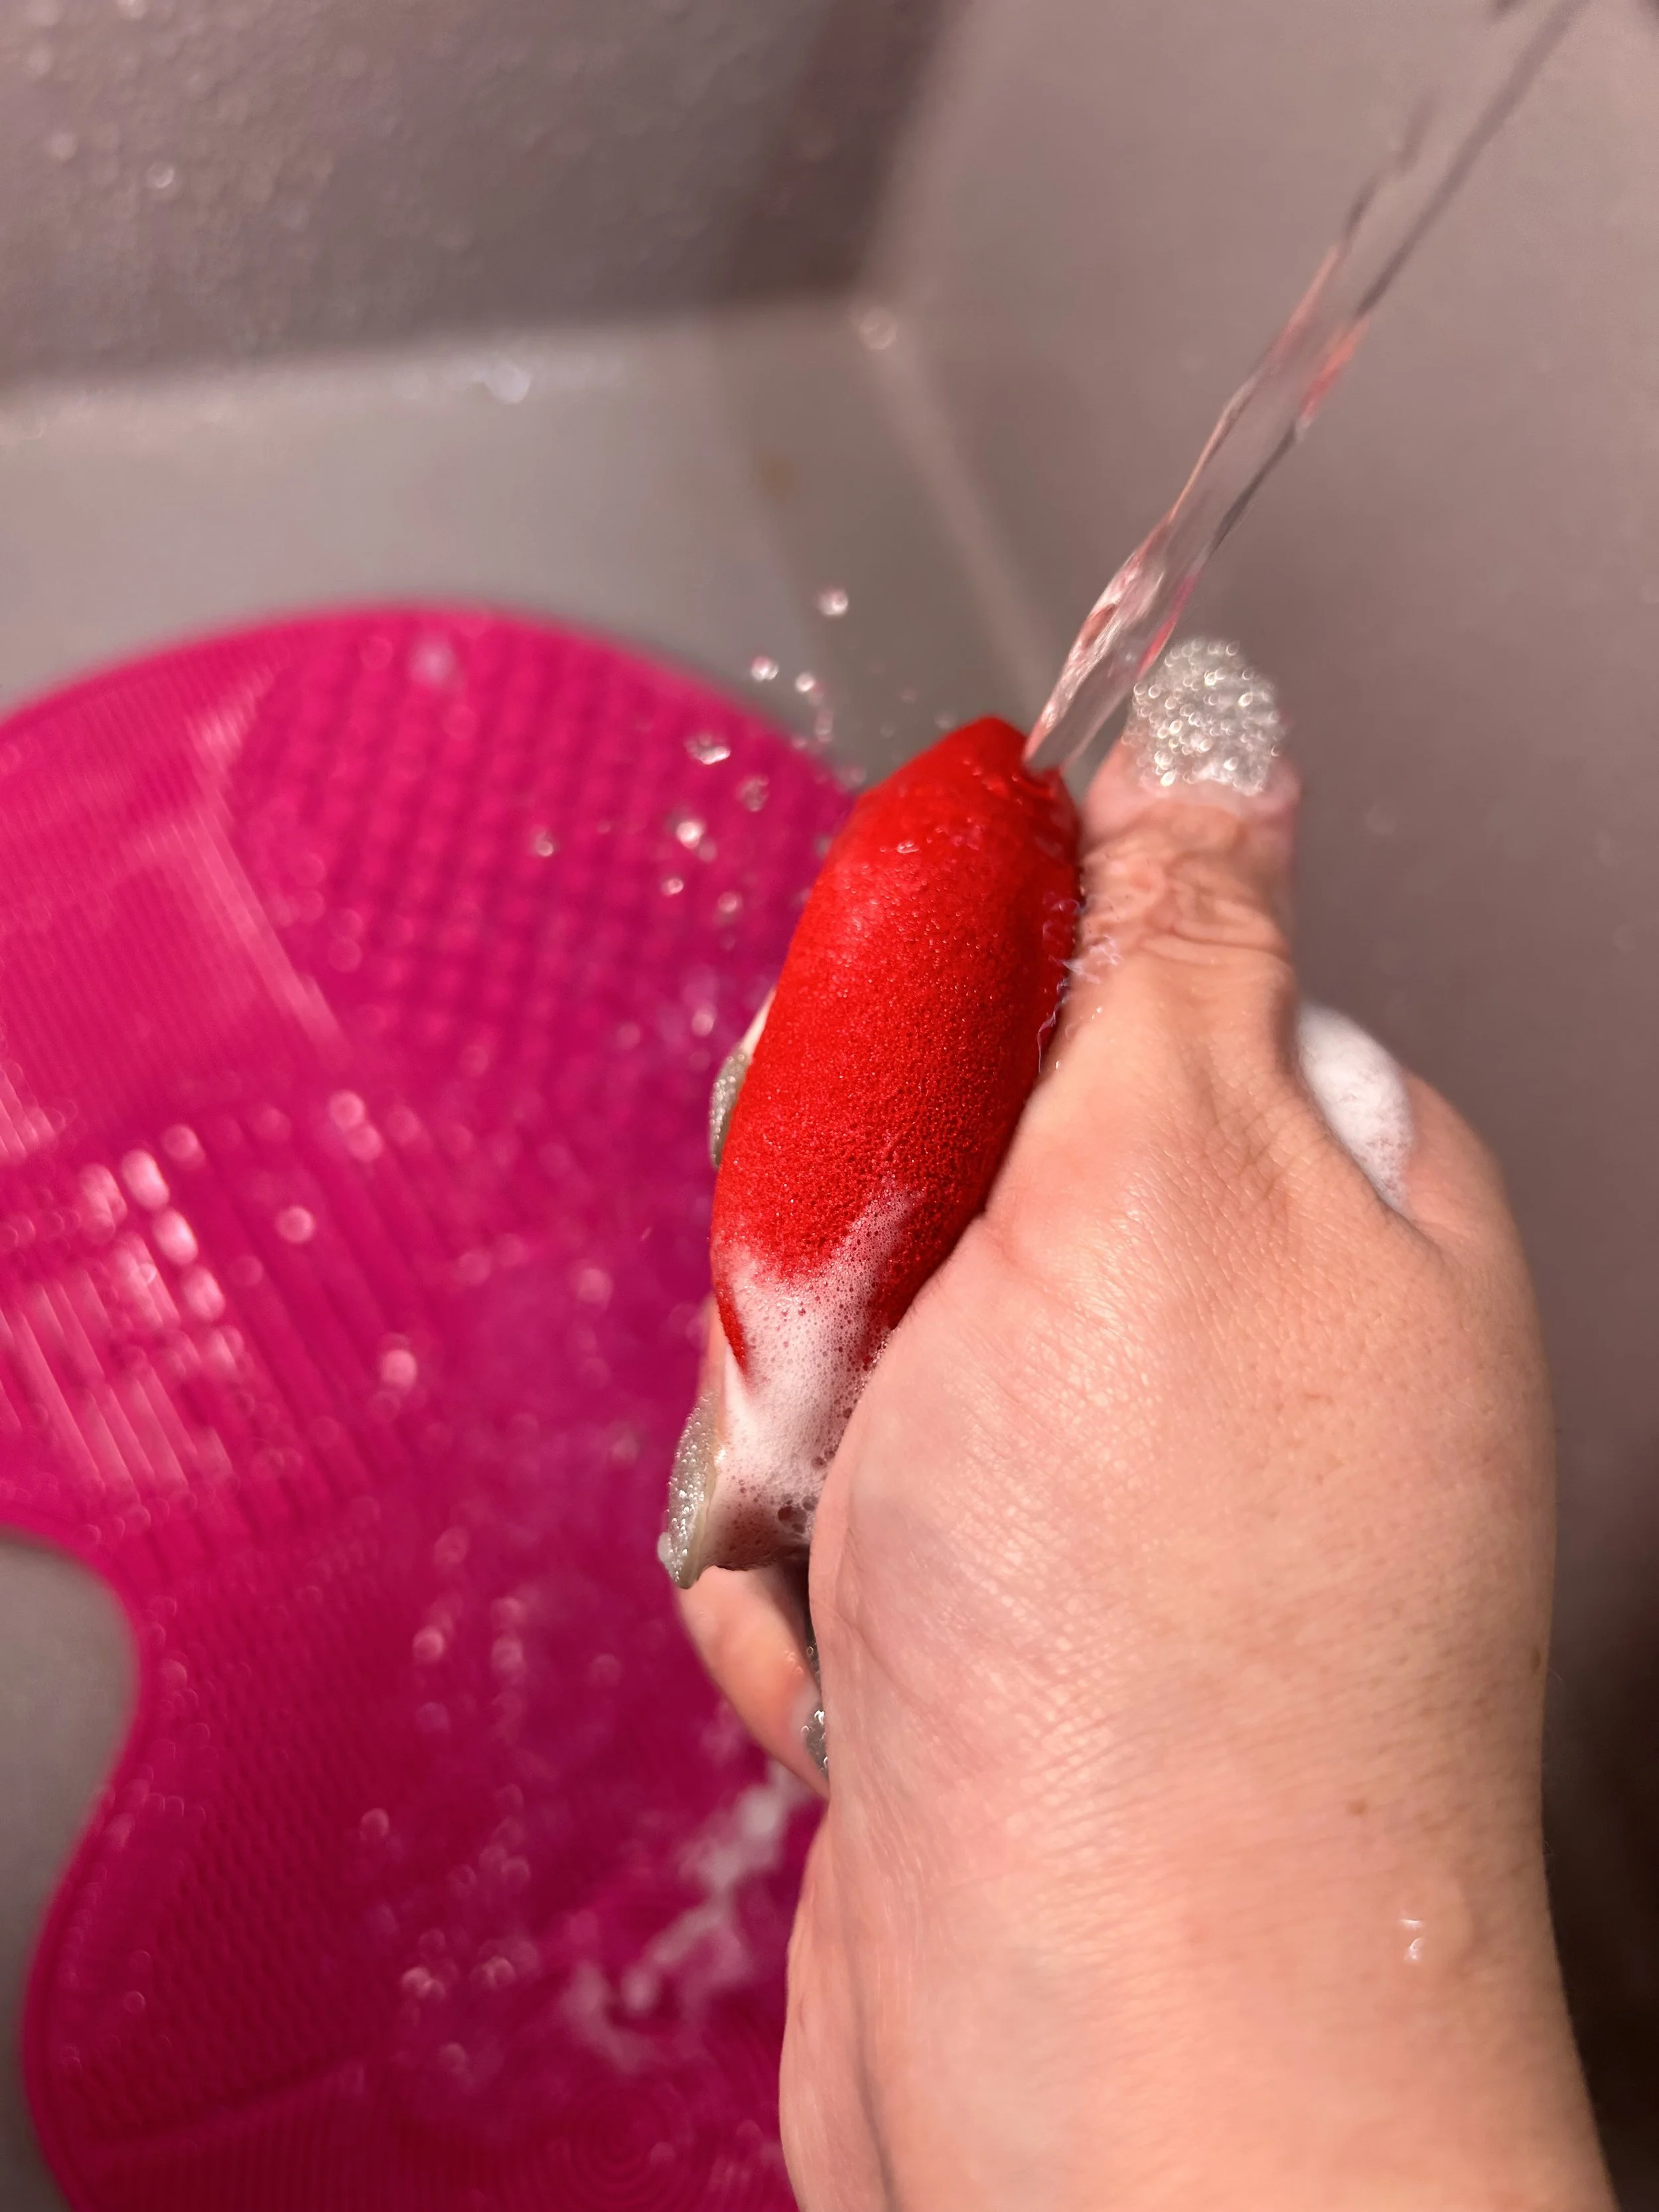
3. Rinse the sponge thoroughly under warm running water. Continue rinsing until all the soap is gone and the water runs clear.
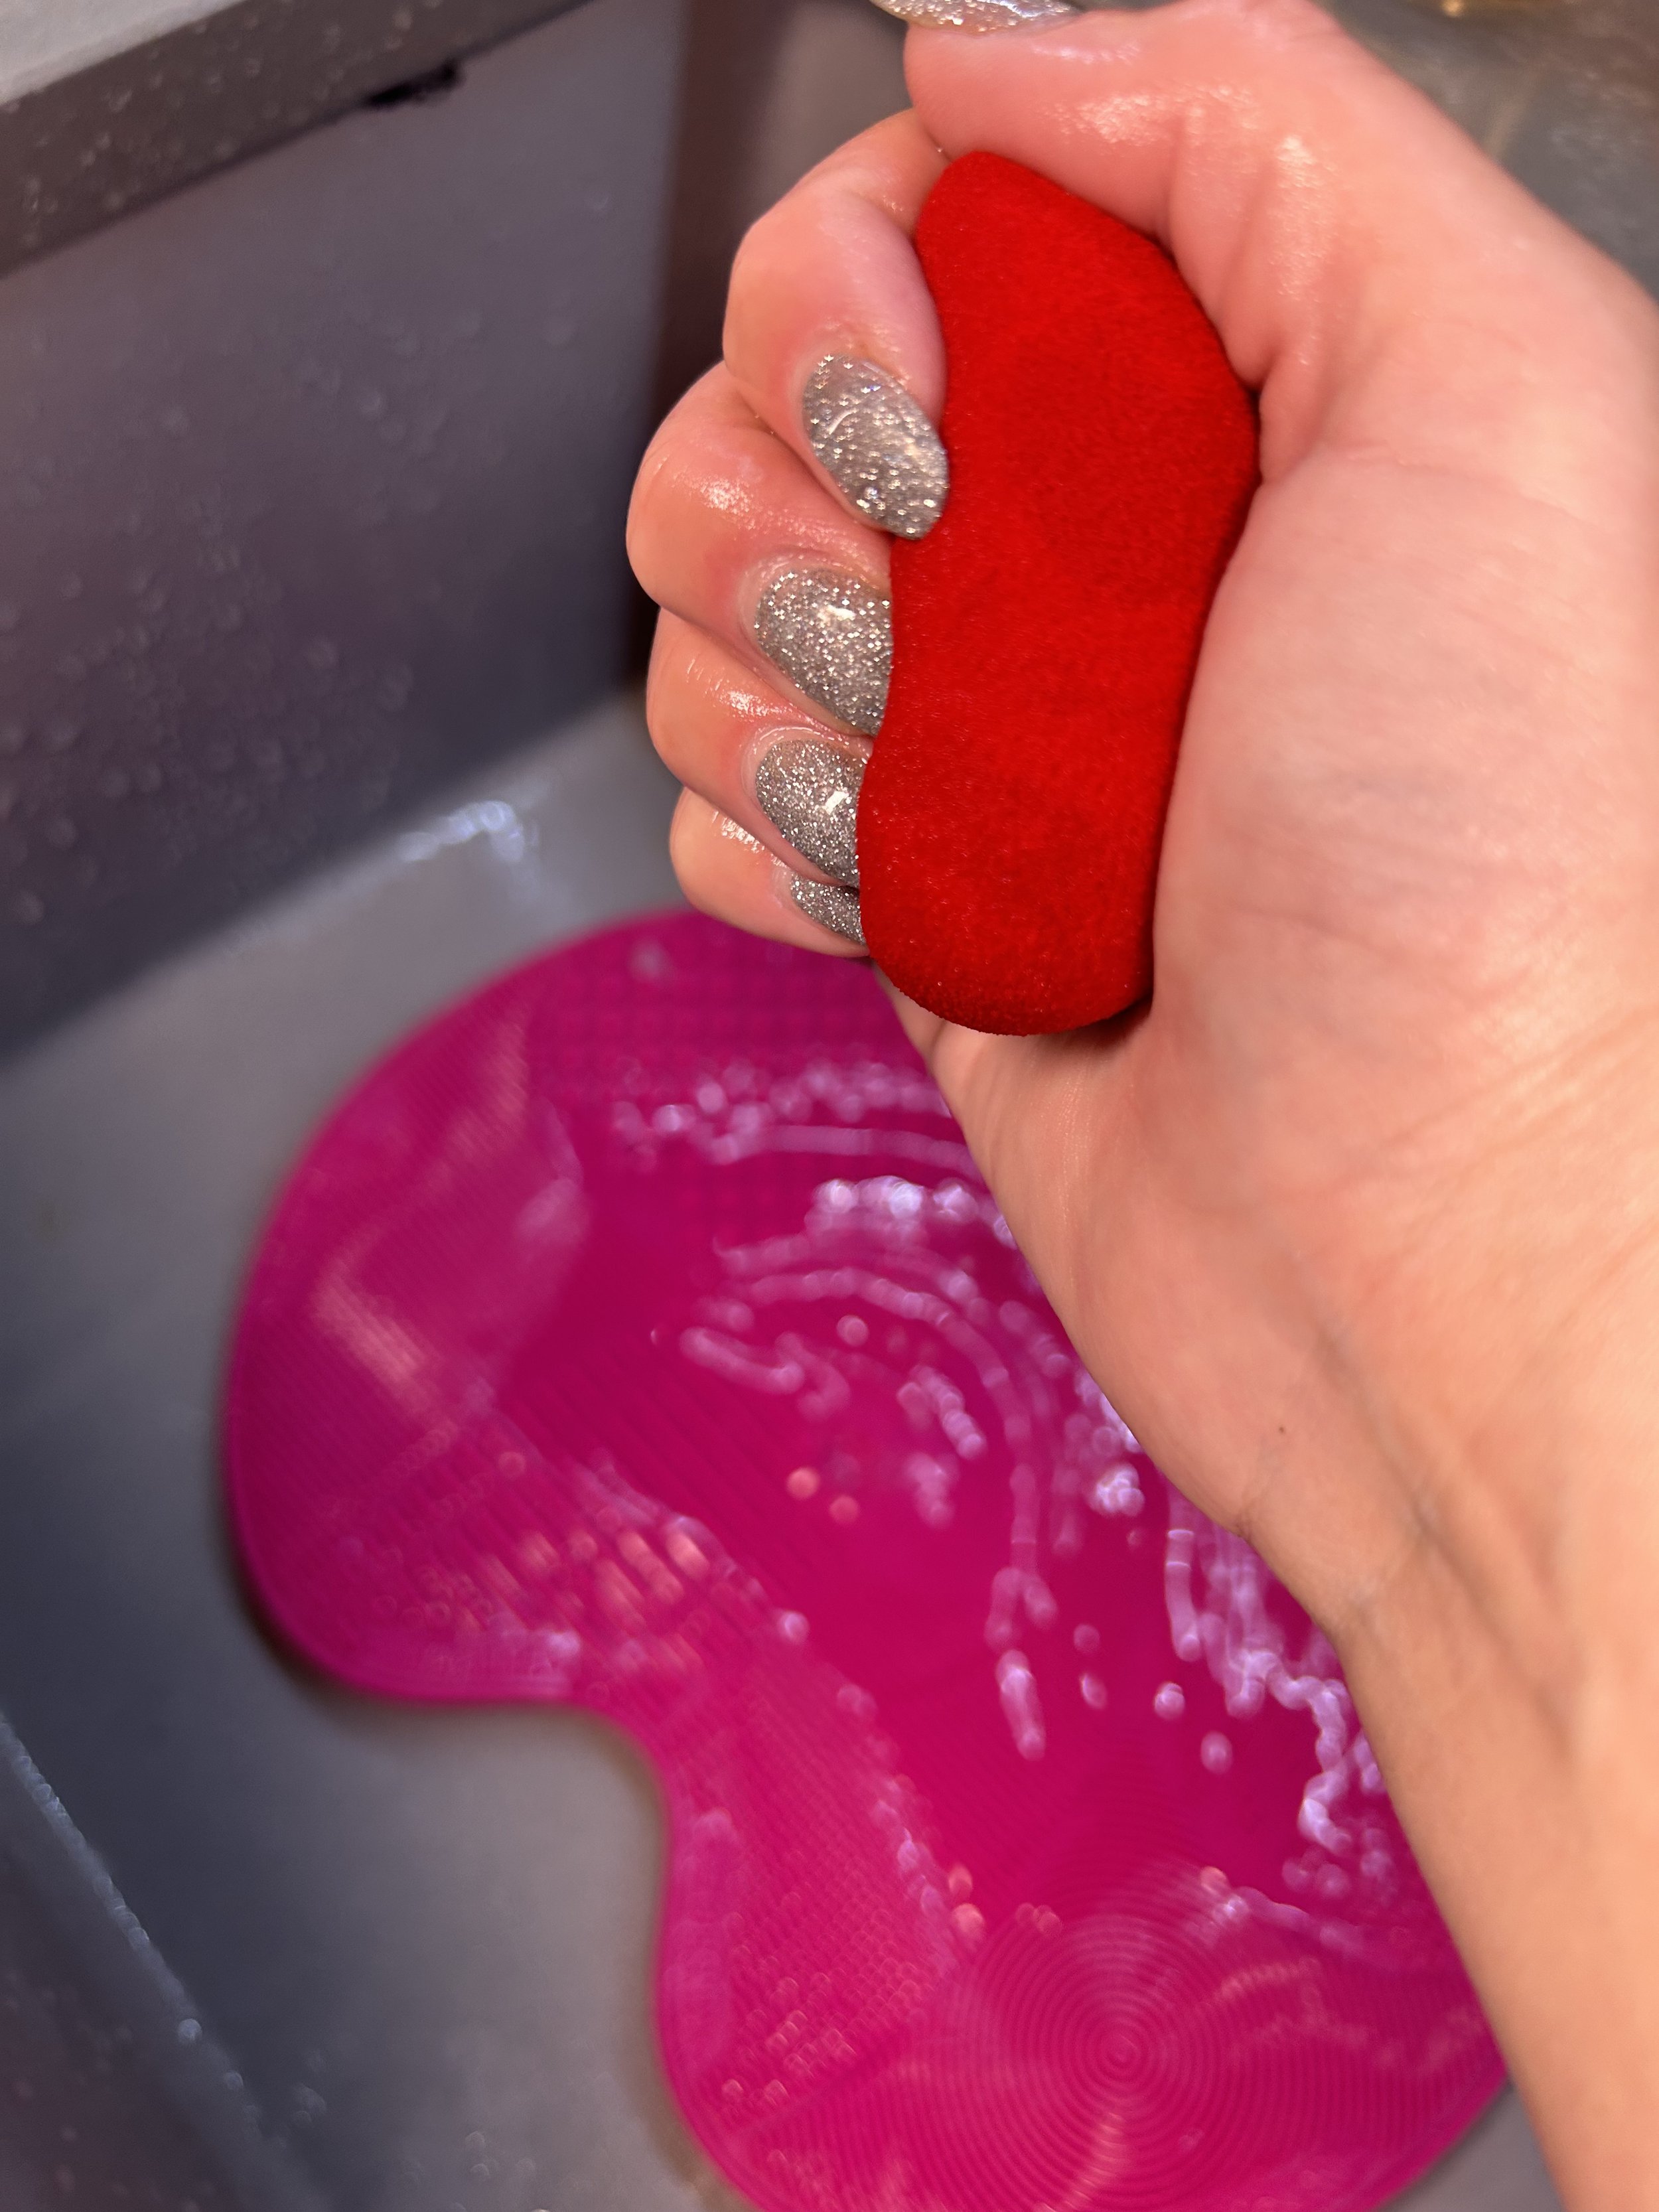
4. Gently squeeze out any excess water but avoid wringing out the sponge as it may damage the structure of the sponge.
5. Let it air dry by placing it on a clean towel or hang it to dry.
The Pro Solid is the best soap I've found. I soak them with water, cover them with soap and then squeeze to foam the soap to remove the dirt. I repeat this until the sponge is as clean as possible.
I have also heard that cleaning the sponge by putting it in a microwavable cup full of water and whacking on the microwave for one minute works wonders. Once you take it out, leave it to cool before you squeeze out the sponge. I haven’t tried this personally, so if you have, comment below and tell me about it!
That, my friends, is my 101 guide to brush cleaning. I hope this helps and remember, wash them AT LEAST once a month, pretty please with a cherry on top! Your skin will love you for it.
If you have any different tricks and tips, feel free to leave them in the comments below. I'd love to hear them.
Happy cleaning!
Love,
Lisa xx
As always, I only ever recommend products I would use myself. This most may contain affiliate links that at no additional cost to you, I may earn a small commission.
This is mostly spent on repairing the shoes Diddy keeps chewing.